
Determine Materiality Task
Step -1: Assess Engagement Risk
1. The first consideration when calculating materiality at the planning stage is assessing the business’s risk.
2. A "Risk Assessment Questionnaire" is displayed on this page. The responses to the questions enable the system to compute the " Overall Risk Assessment" for the business, which forms the basis for the computation of different materiality percentages in this process.
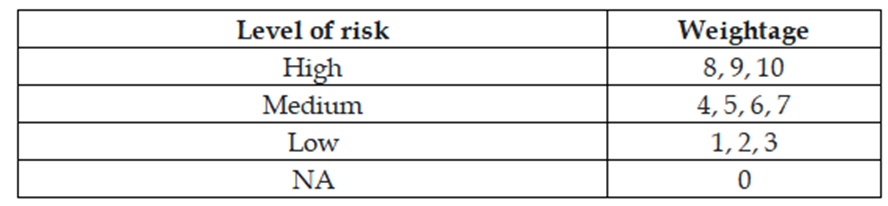
3. The " Level of Risk" is required to be chosen for each question.
4. The weights allotted to each level of risk are populated in the drop-down to choose from in the column “Weightage”.
5. The " Overall Risk Assessment" is dynamically updated as the questions are answered with weights.
6. It is not mandatory to respond to all the questions, only the relevant questions can be answered and the rest can be left as “Not Applicable”.
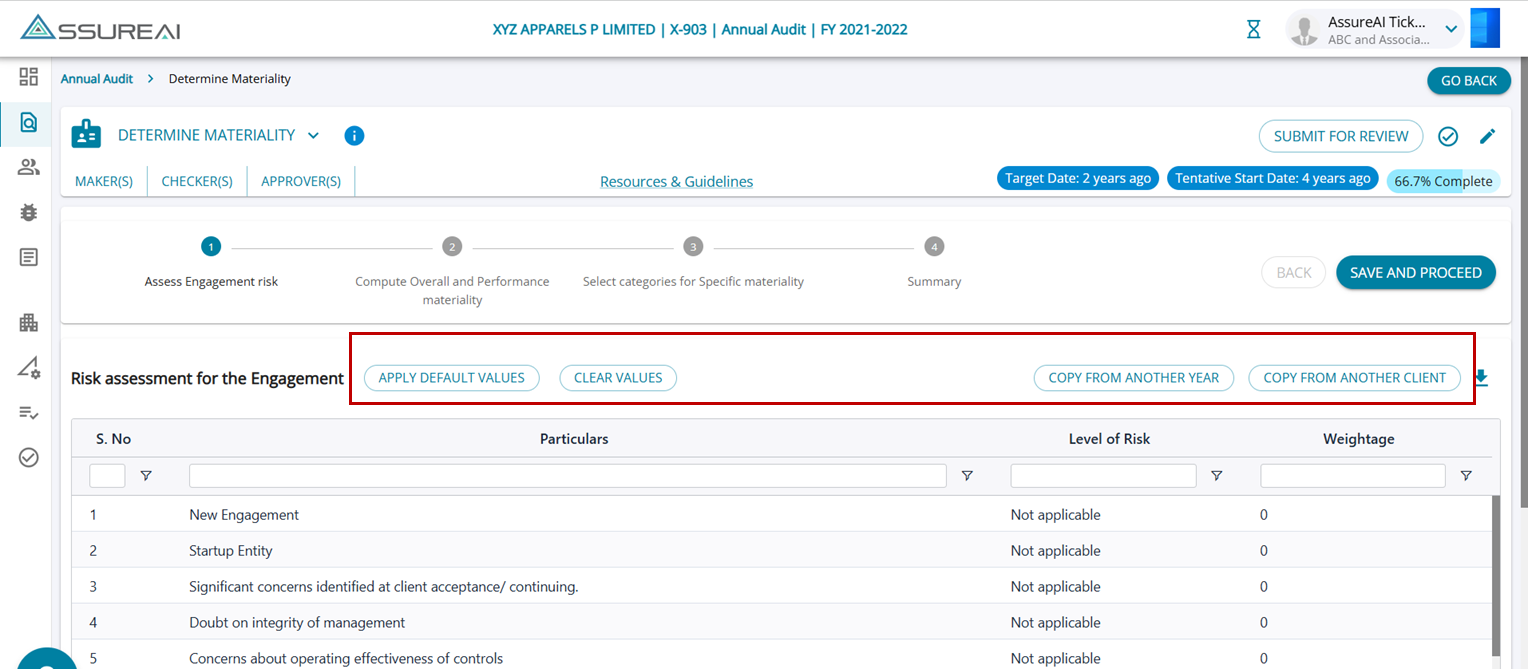
Features on the Screen
1. Apply Default Values: This feature populates all the responses with the default values predetermined in the system.
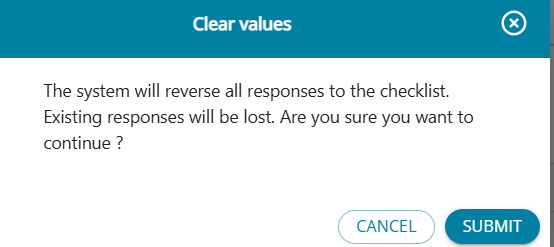
2. Clear Values: The feature allows the user to restore the responses of all the questions to the "Not Applicable" level of risk and "0" weightage.
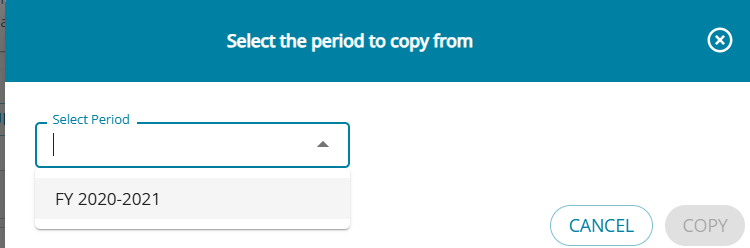
3. Copy from Another Year: If the questionnaire has been filled for the client in any other financial year(s), the user can choose the required FY from the drop-down. The system will auto-populate values from the chosen year. If no values are present in the chosen year, the table remains unchanged.
The drop-down lists all FYs available for the client.
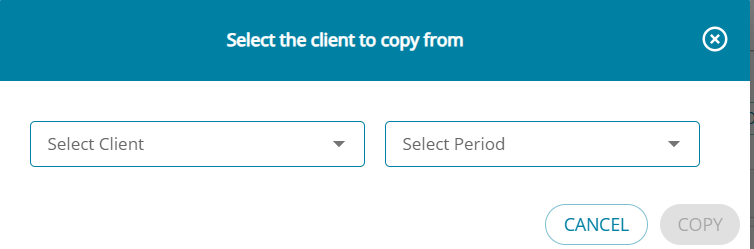
4. Copy from Another Client: The user can from this option choose any client within the firm and copy the values filled in for that client from any FY to enable computation for the current assignment.
Risk level selected and allowed weightage.
Logic for "Risk Assessment" Computation
Overall Risk assessment score = Sum of weights ages / No. Of questions with a valid response.
(Questions where the Level of risk = NA will be omitted from the denominator)
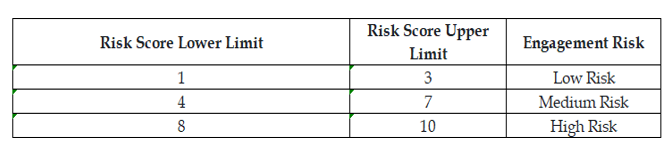
Depending on the score, the Engagement risk is calculated, using the below reference range.
1. The checklist should be filled with responses to all pertinent questions for an entity, Questions that are not relevant to the entity can be left as “Not Applicable”
2. Once the responses are filled in, the system calculates the “Overall Risk Assessment”
3.“Apply Default Values” can be clicked to choose the pre-set response for the checklist.
Step 2 - Compute Overall & Performance Materiality
1. It is mandatory for the user to generate Financial Statements before initiating Materiality Computation as the process depends on a standard set of Benchmarks that are listed in this step, values for which are pulled from the financial statements.
2. For any chosen system-added Benchmark, the system lists amounts from the Current Year, the Previous Year, or the Average of both years.
3. Add Benchmark: New benchmarks can be added by clicking on the button.
Basis of Materiality :
(i) Average: Average can be used as the basis where benchmarks may be influenced by unusual or one-off results in any year.
(ii) Current / Previous Year: If any one-off event has occurred in the current year or previous year, it is suggested to use the period that is considered "Normal“.
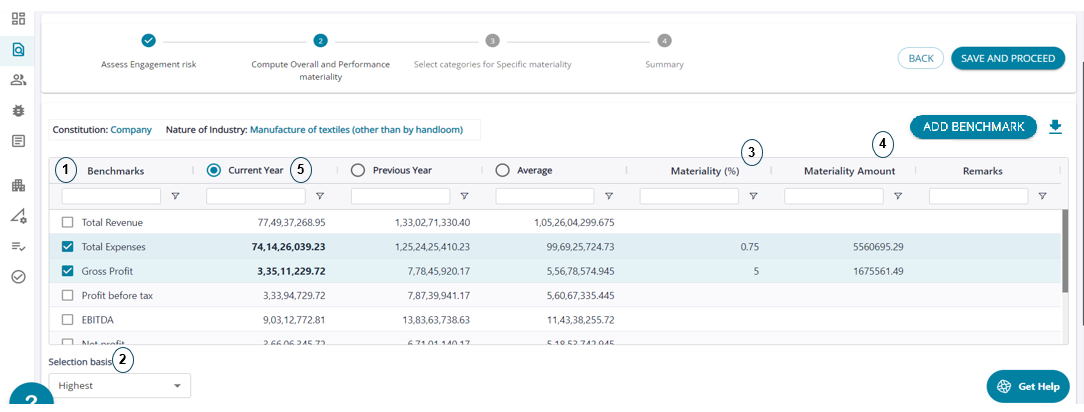
1.AssureAI lists benchmarks to choose from and more than one benchmark can be chosen.
2. The “Selection Basis” drop-down is enabled when multiple benchmarks are chosen with options for choosing the Highest or the Lowest of the values on which the materiality % will be applied to calculate Overall Materiality.
3. Materiality % for chosen benchmarks are listed in the dropdown to choose from. These are the common reference examples. A default % is displayed and can be changed if required.
4. The Materiality % is applied to the chosen benchmark and the amount is displayed.
5. The default selection by the system is the current year values.

1. The selected benchmark is listed.
2. The risk of the entity as set in Step -1
3. The Overall Materiality amount is calculated based on the materiality % chosen.
4.% for Performance Materiality, Trivial Materiality, and Specific Materiality (all fields are mandatory) to be applied to the Overall Materiality can be filled in the table “Recommended Materiality”.
5. The % are adjusted based on the risk of the entity.
Add Benchmark
1. Users can now Add Benchmarks manually other than the Benchmarks provided by the system.
2. By clicking the button “Add Benchmark” the pop-up screen needs to be filled in with the required details to add a new benchmark.
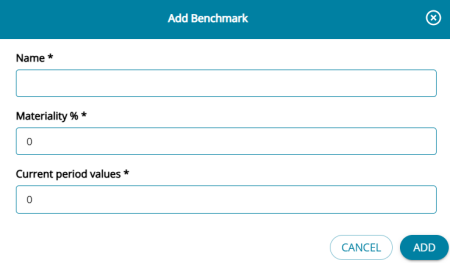
3. On the pop-up screen all the fields are mandatory to be filled in to save the new benchmark. The "Name" field has to be unique.
The user cannot add another benchmark with the same name and the system will throw an error message.

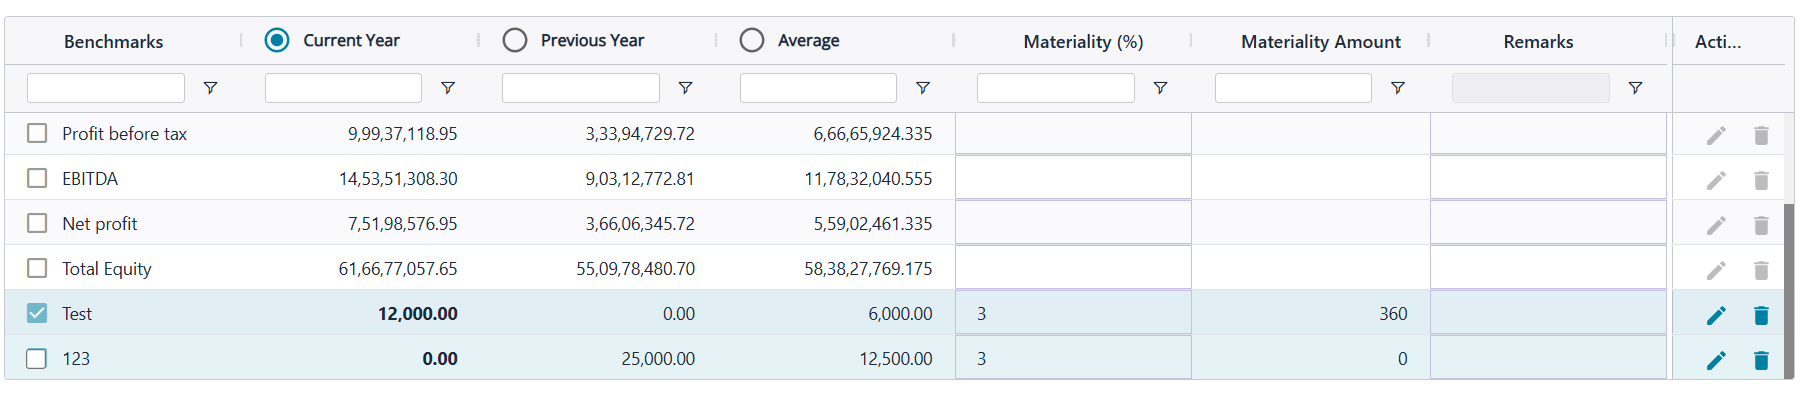
4. The user-added benchmarks can be edited/deleted by the user, while the system-added benchmarks cannot be edited/ deleted.
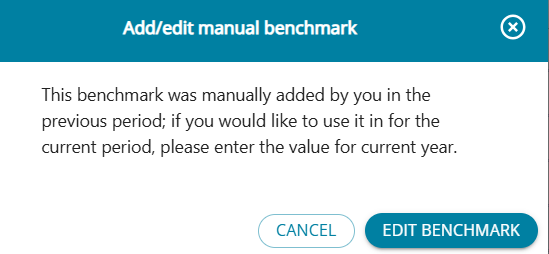
5. When a benchmark is manually added the same will be auto-selected for the user. In the ongoing year only "Current Year" values can be added for the benchmark.
6. Once added, the benchmarks will be listed in the next year unless deleted by the user.
7. In the second year, the benchmark will not be auto-selected but year 1 values will be listed under “Previous Year” and if the user wants to use the benchmark, then the user needs to edit the benchmark and add values for “Current Year”.
8. If the benchmark is not used in Year -2, the benchmark will not be listed in Year 3 as no previous year values have been entered for the benchmark.
Step 3 - Select Categories for Specific Materiality
ermining Materiality
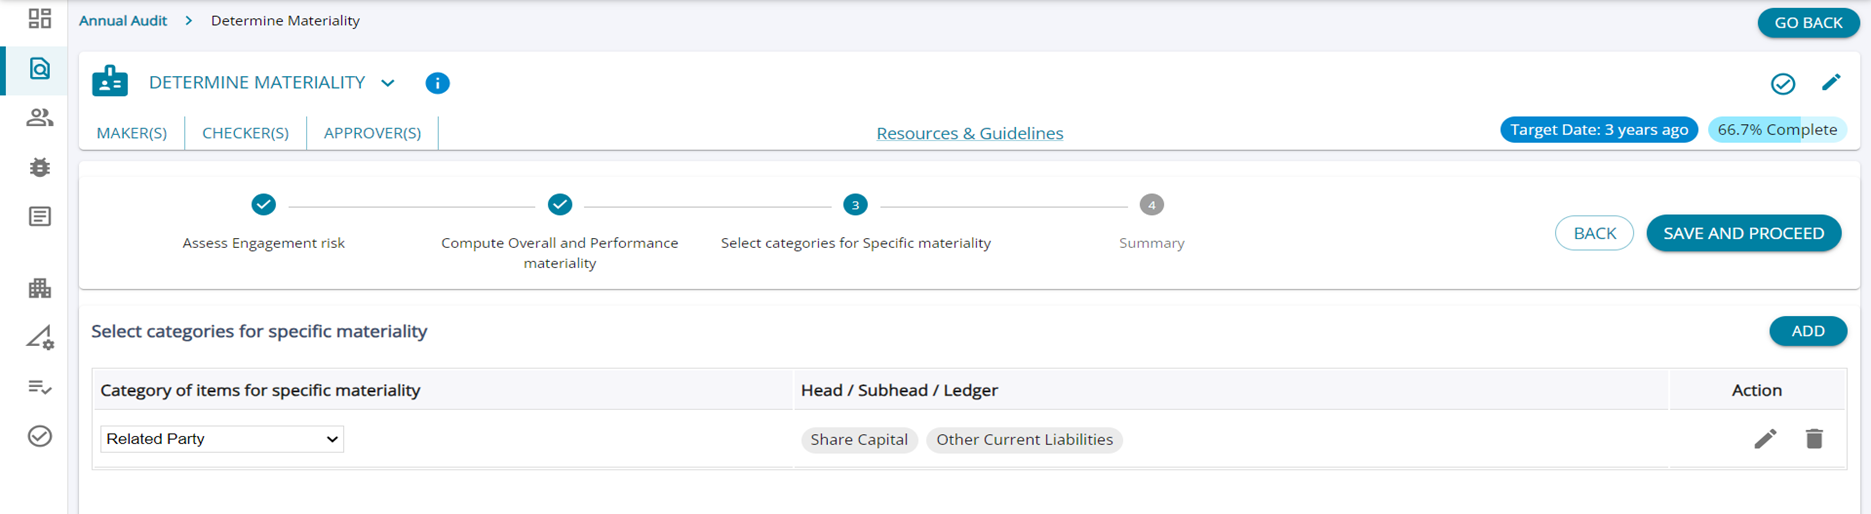
1. The system enables two types of categories for setting up specific materiality: ledgers of Statutory Dues and Related Parties.
2. Upon choosing either / both of the categories by clicking on the "Add" button, the selected categories will be added to the table.
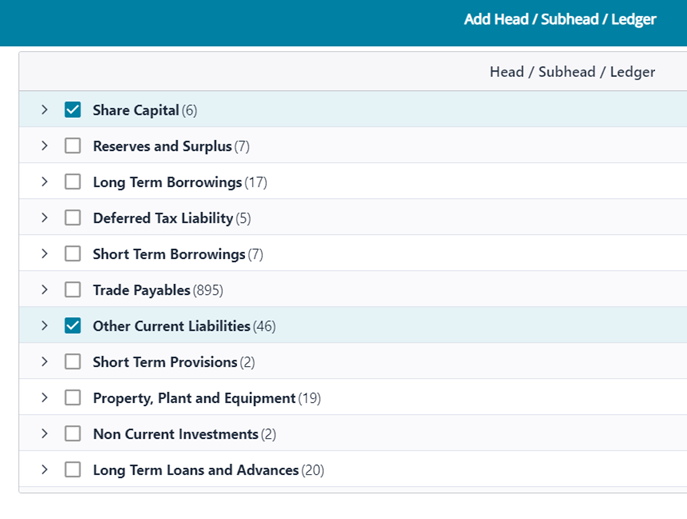
3. The “Edit” button displays in the pop-up screen "Add Head / Subhead / Ledger", the entire set of ledgers in the Trial balance, and the required selections can be made for each category added.
Step 4 – Summary
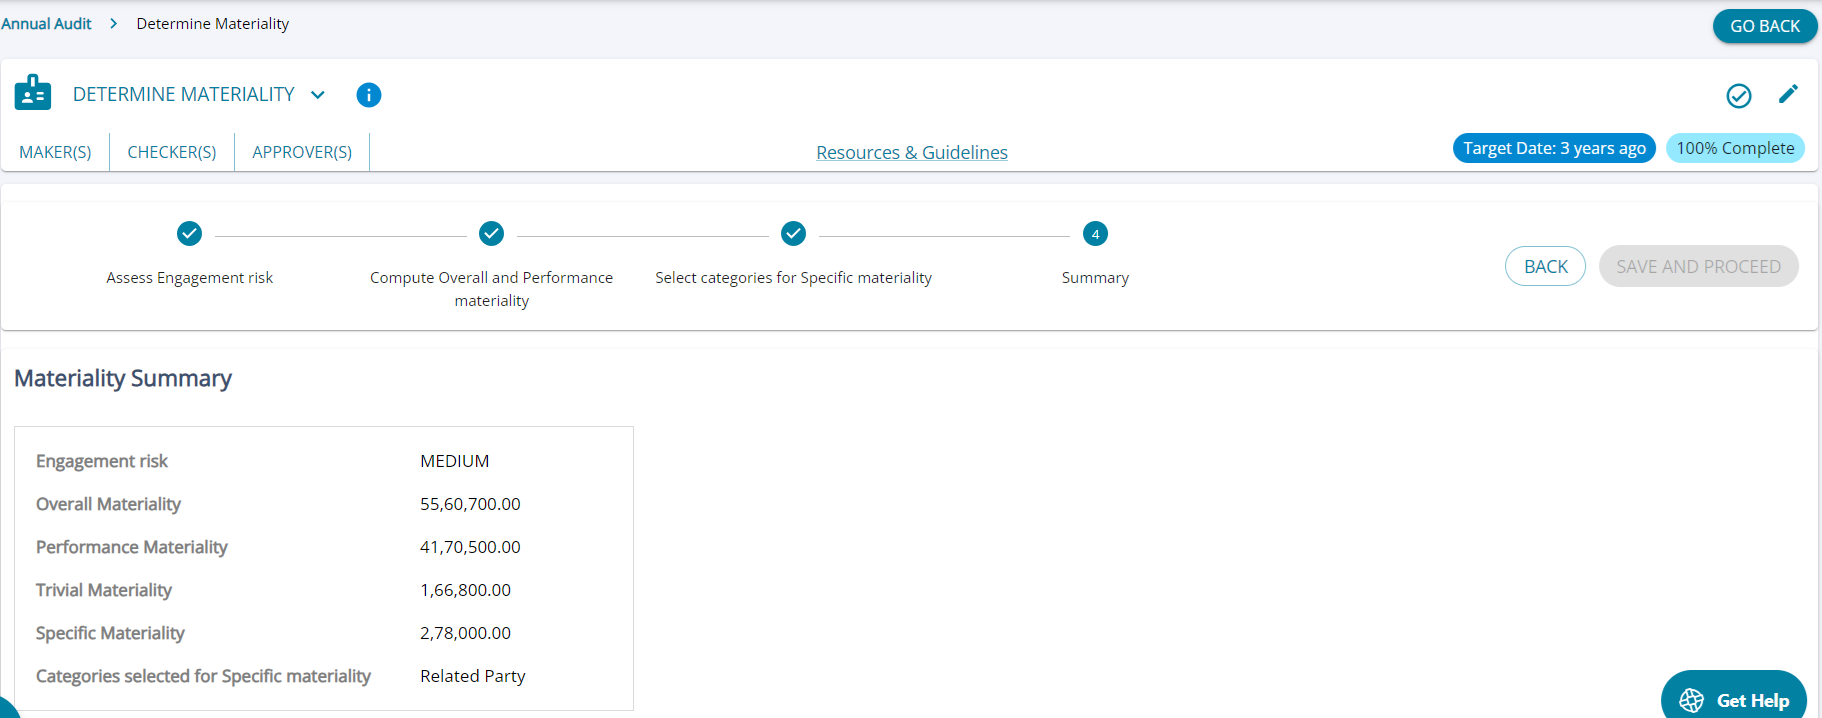
1. This step displays the Materiality Summary with all details entered from steps 1 to 3.
2. The user can submit the task for review or click on the “Mark as Complete" button.
Read Only Mode
Once the task has been marked as complete, the user can no longer make changes to the task and can only View/ Download the tables in each step.
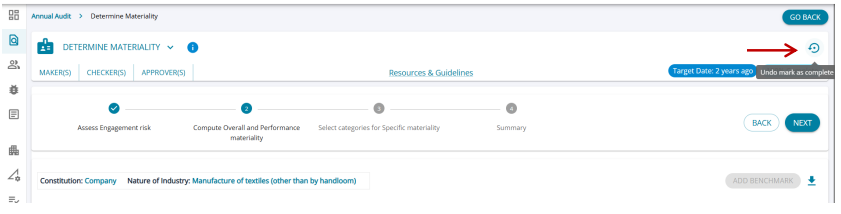
However, the user can "Undo Mark as Complete" and return the task to the edit mode and make changes. Materiality