
Draft & Final Statement Generation
I. Draft / Provisional Statement Generation
Once all required checks have been done on the financial statement, the user can click on the “Generate Report” button, and the report gets generated.
When the report is provisional, we can still make any required changes to the financial statements (after reviewing the draft statement) before the final report is generated and the accounts are finalized for the period.
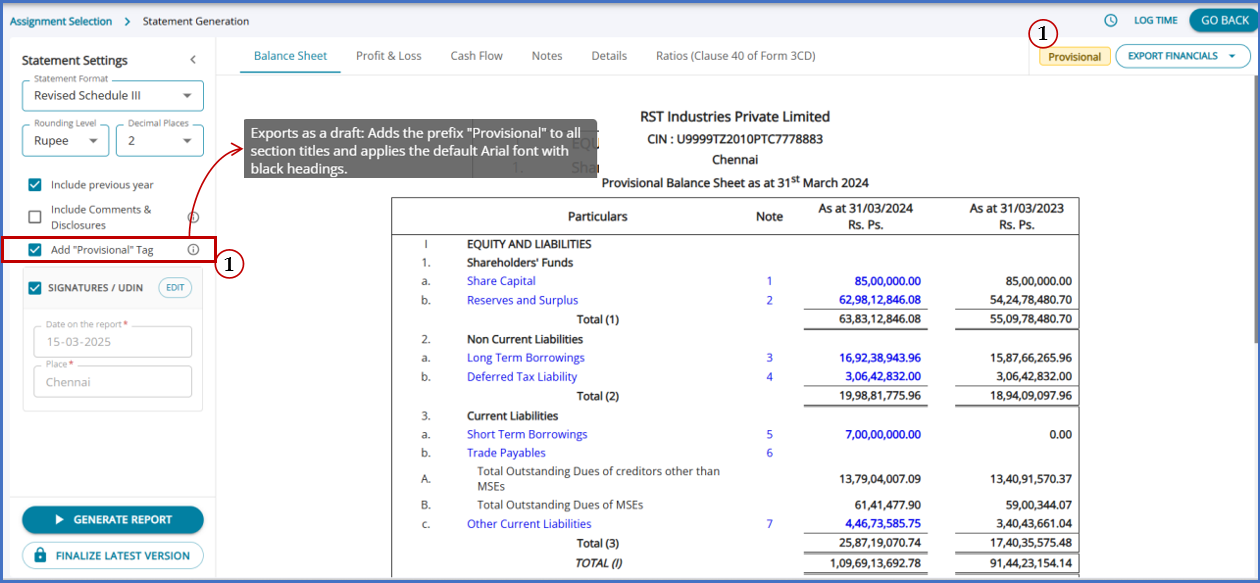
Select “Add ‘Provisional’ Tag”.
When this option is selected:
- Only the Date and Place fields will be visible.
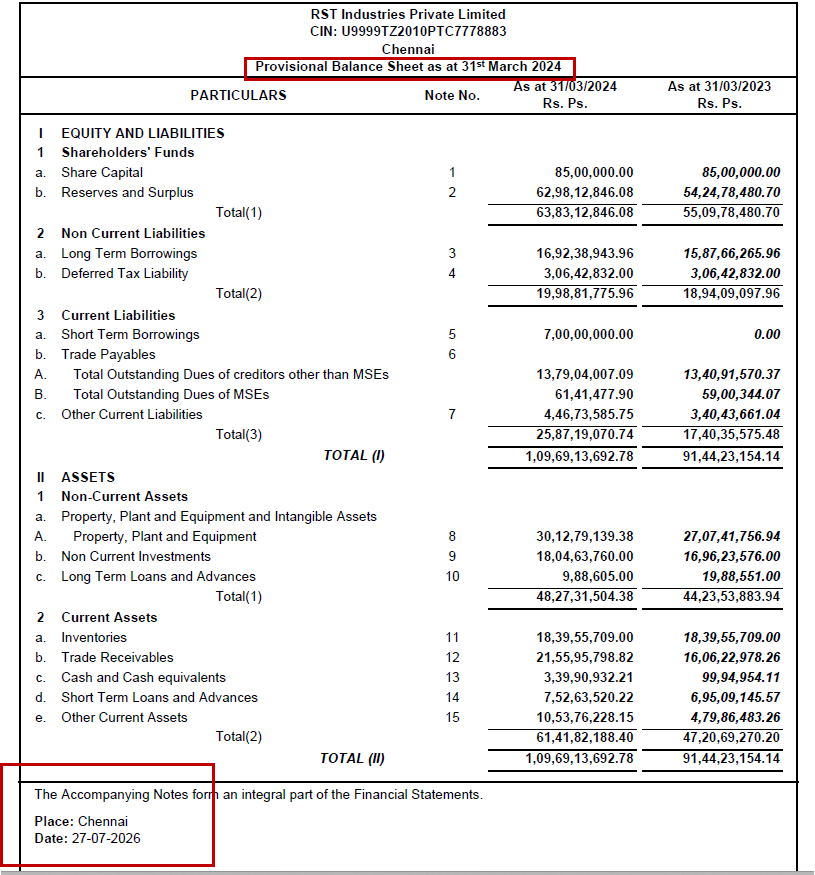
- The generated outputs will display the “Provisional” tag.
- No placeholders for signatories/signatures will be displayed in the output.
II. Final Statement Generation
Final Statement Generation Steps
In addition to the steps followed for the draft statement, the following additional selections are to be made for generating the Final Statements.
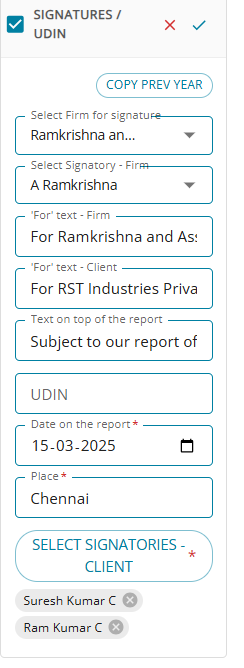
- Select Include the previous year’s statement.
- Select the ‘CA Firm for signature’ from the Dropdown on the left side.
- Select the name of the CA firm partner from the dropdown ‘Select Signatory-firm’
- Select the Signature ‘For’ text for the CA firm and the Client.
- Type the Place, UDIN if they would like to include it in the final statements, and specify the date on the report.
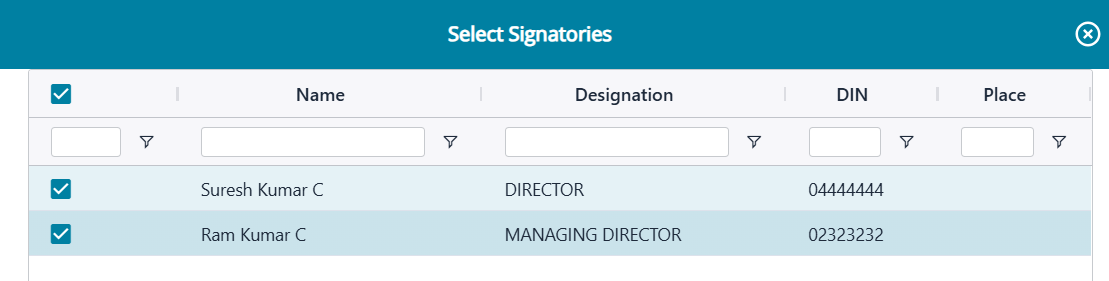
- Select the client signatories from the ‘Select Signatories-client’ pop-up; users can select more than 1 signatory.
- However, once data is filled in for all of the fields listed abpve form sbsequest year onards 'Copy Prev Year' will ensure the data is copied for the ongoing year as well and can be edited if required.
Finalize and Unfinalize actions.
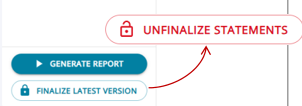
1. Once the entire audit is completed and the filing of Income Tax Returns is over, then the user may proceed to ‘Finalize’ the version of the Data
2. Click ‘Finalize Latest Version’ in the Final Statement Generation Page
3. Immediately, the system will freeze all the data for the given period
4. Once finalized, there will be no modifications allowed in that year’s data
5. Only after finalization, the system will allow the user to import the next year's data
How to Un-finalize Final Statement
- Once the statement is finalized, no further changes will be allowed by the system to the data of the same period.
- However, if the user wishes to make changes, the user can “ Un-Finalize Statements” and make the necessary changes.
- This option is available only to the auditor, and only the latest finalized period can be un-finalized
- Go to the “Statement generation” screen, and the Finalise button now reads “Un-finalize statements”; click the button to reopen the period.
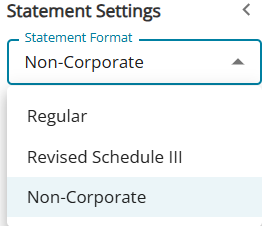
III. Statement Settings
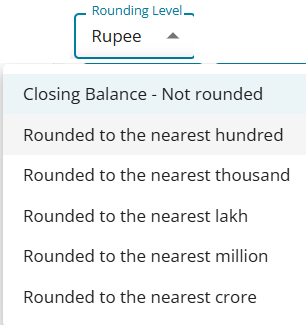
Rounding Level: Choose the required rounding level – Not Rounded (Displays the exact closing balance without any rounding), Nearest Hundred, Thousand, Lakh, Million, or Crore.
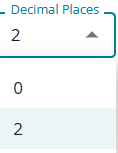
Decimal Places: Select the number of decimal places to display – 0 or 2.